I have a confession to make. I have never made candy (unless you count something dipped in melted chocolate) because the process always seemed so intimidating to me. So when I saw this month’s Fantastic Bake Along, I was excited to finally give it a go. The Fantastic Bake Along is hosted by Tracy at It’s a T-Sweets Day!, and the recipe for this month was supplied by AJ at A Petite Slice of Life and can be found here on Tracy’s blog.
I was also kind of excited to try this recipe and maybe used up the coconut oil which has been taking up space in my cupboard. It turns out I should have checked the expiration date on it when I was making my grocery list because when it came time to make my caramels I realized it was old…really, really old. I originally bought it because everyone raved about how great it was to cook with, but I could never get past the strong coconut smell, and taste in anything that I used it in. (Have I mentioned that coconut is not my favourite thing? Maybe it’s just as well that it was too old to use for my caramels.) I’m sorry AJ, but I ended up substituting butter in the recipe because it was the only thing I had in my kitchen to replace the coconut oil.
I did not want to be fiddling around with cups of water and dropping things into it, and trying to judge which stage it was at, so I used my trusty digital thermometer and it worked like a dream. I added all the ingredients, and turned on the heat, stirring until all the ingredients were mixed together.
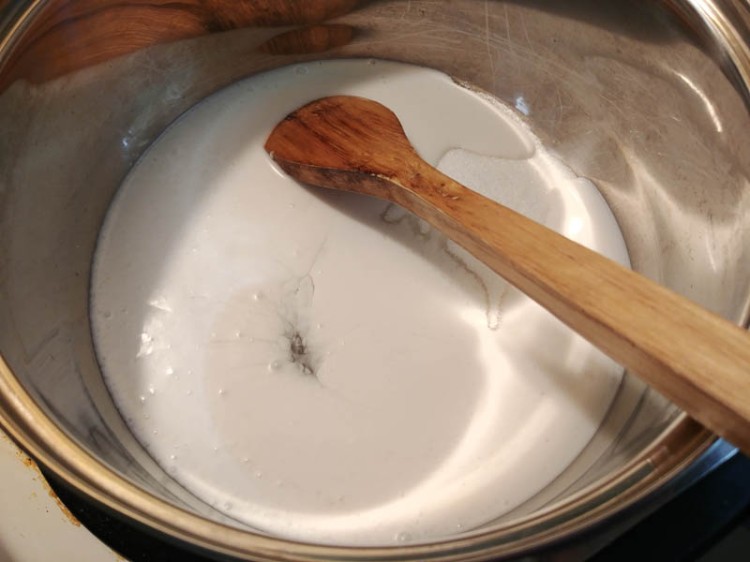
Not being a candy maker, the boiling sweet mixture made me a little nervous, not least when it would suddenly start to bubble up and almost come alive. I’m glad I had a good, deep pot to cook it in. As you can see from the pictures below, the colour changed quite drastically from the beginning (on the left) to near the end (on the right).


I used an 8×8 inch pan for my candy, because I wanted to cut it into smaller pieces so that I could fit it into my Weight Watcher’s plan more easily on days when I could spare a few points. I also opted to sprinkle a bit of Himalayan salt on top, but I think I should have waited until it cooled a bit more, because it kind of go absorbed into the caramel, rather than sitting on top.
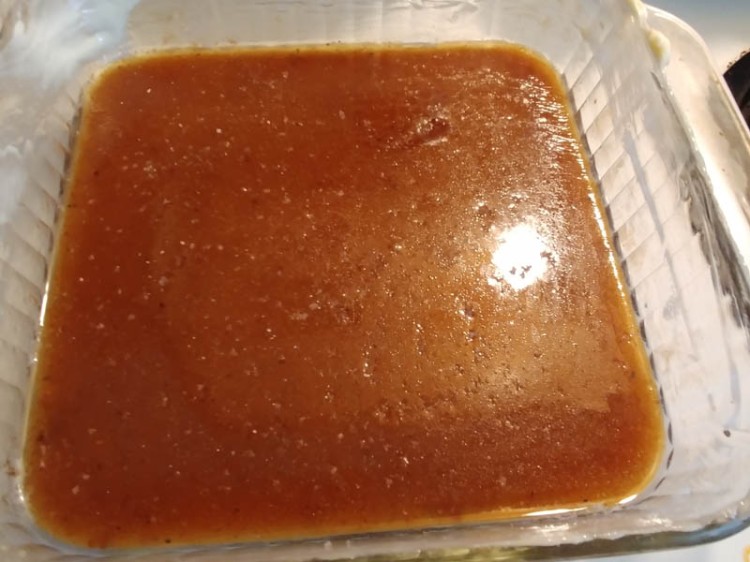
I got a few burned bits from the bottom of the pan mixed in, because I accidentally scraped the bottom when I stirred in the vanilla. Luckily, the burned bits don’t affect the taste at all! (You can’t even tell they’re there. I was worried that it might also affect the texture.)
I had a bit of a hard time getting them out of the pan, even though I buttered it fairly liberally, so I think next time I will try lining the pan with parchment paper to make it easier to turn out and cut.
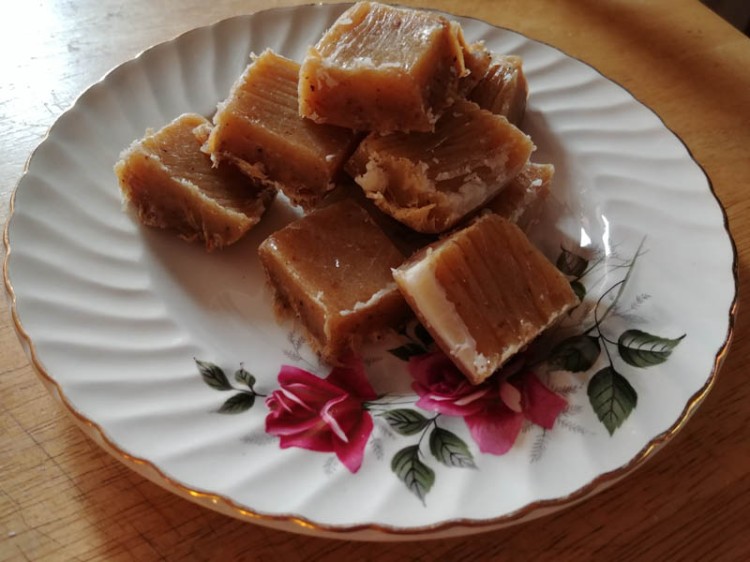
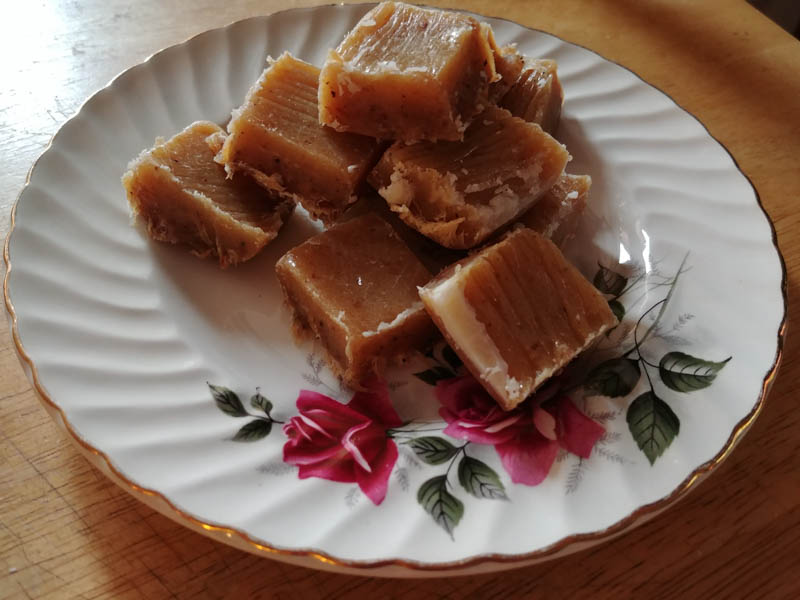
A little of this sweet treat really does go a long way, but it’s so delicious! The caramels are so soft, and chewy, and happily, they don’t really stick to your teeth, they just kind of melt in your mout’h. My mouth is watering just thinking about eating one.
In all, I would have to say my first candy making attempt was a success, and I won
Check out the other candy makers at the links below to find out how their candy making experiences!
- AJ at A Petite Slice of Life
- Tracy at It’s a T-Sweets Day!
- Rebecca at Twinklehook
- Kathy at Sewing Etc.
- Brenna at Crochet539
- Emma at Emma Crafts Design

Good for you Kate! If you have it, a thermometer is much easier to use than the cold water method, unless that’s what you have done your whole life (my mom 😳). I’ve done both and the thermometer is much less stressful! Your caramels look perfect!
LikeLiked by 2 people
I could not imagine trying to make candy without a thermometer. I’m too much of a second guesser, and would ruin it, lol.
LikeLiked by 1 person
Way to go Kate!! I love how your story about the coconut oil😊. I’m glad you substituted th butter. It really gave your caramels that creamy look. And sea salt was a great idea! I will have to try that next time👍🏻. What a fun Bake Along! ❤️❤️
LikeLiked by 2 people
It was fun! I’m glad my substitution turned out. Now I want to try adding nut, and/or chocolate chips!
LikeLiked by 1 person
Chocolate chips and nuts! I’m in:)!❤️❤️
LikeLiked by 1 person
Yours look amazing Kate! I definitely want to give them another go now, but I’ll wait until I’m back home in my trusty kitchen with my trusty stove!!
LikeLiked by 2 people
Thanks they are yummy! I have a tinin my fridge, but I may have to freeze some because it will take me a while to eat them all!
LikeLiked by 1 person
Way to go for going out on a limb and trying the recipe! 😊
LikeLiked by 2 people